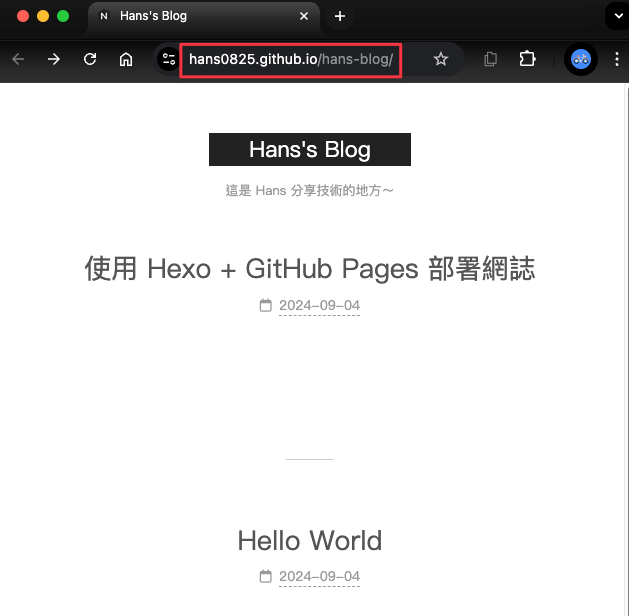
使用 Hexo + GitHub Pages 部署網誌
初始化工作環境
hexo init 資料夾名稱
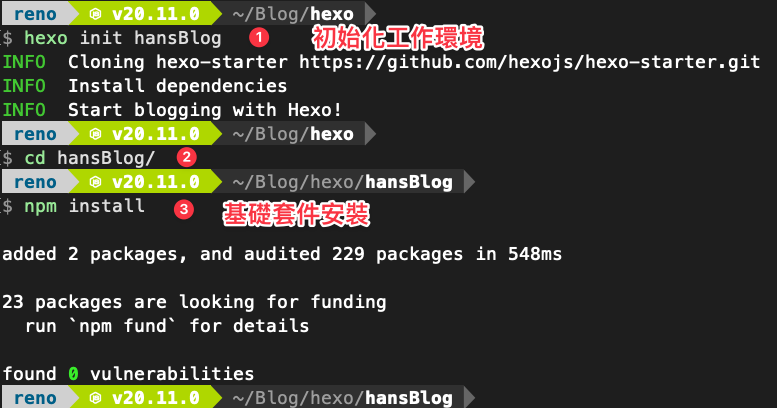
用 VSCode 開啟 hanBlog 資料夾

目前 themes 裡還未安裝主題
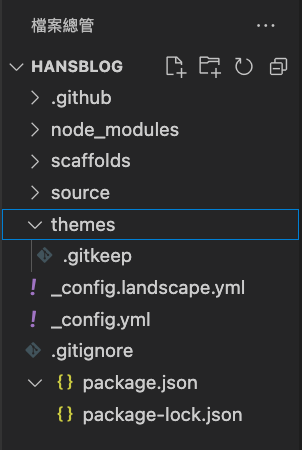
clone 樣版主題 NexT 到 themes/next 資料夾
git clone https://github.com/next-theme/hexo-theme-next themes/next

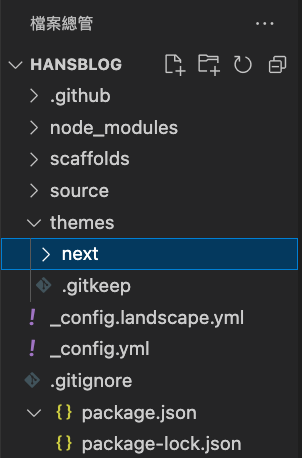
themes 下多了 next 主題
修改 _config.yml
修改根目錄 _config.yml 中的 theme 參數(預設是 landscape),把 landscape 改成 next 主題。

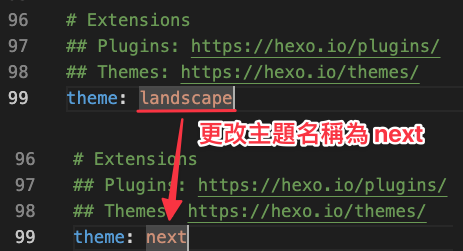
1 | - theme: landscape |
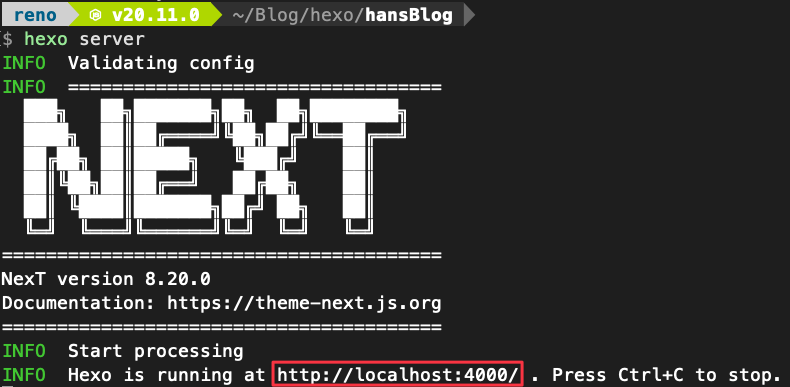
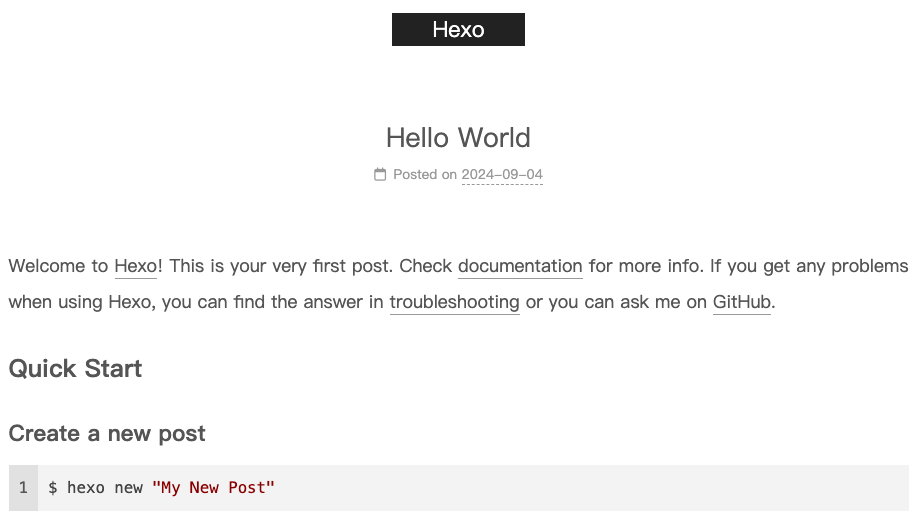
啟動本地端伺服器 run 一下 server 看看 Blog
執行 hexo server
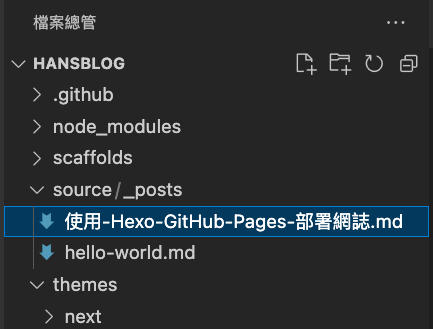
new 新增文章
hexo new '文章名稱'

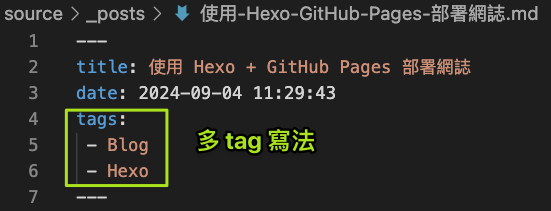
多 tag 寫法

目錄結構 設定檔 config
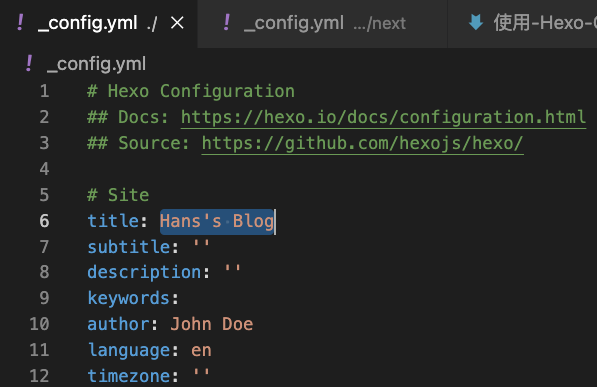
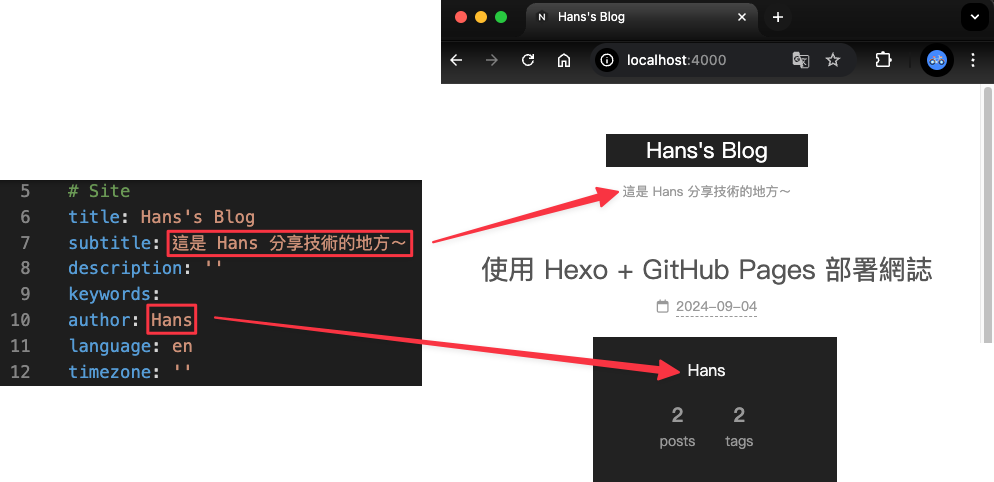
客製化 Blog 資訊,可以在 _config.yml 或 替代配置檔 中修改網站配置。
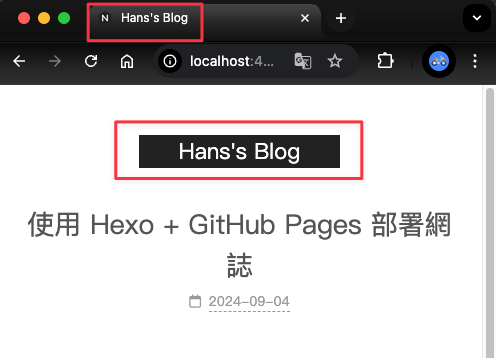
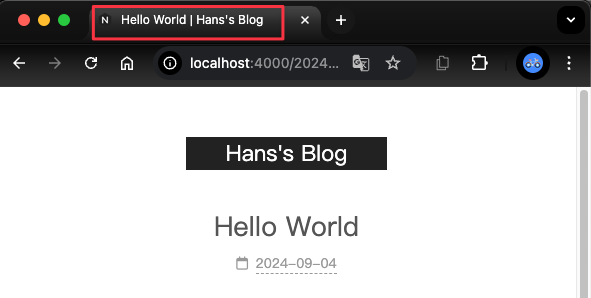
title 必改,這樣 google 才收尋的到,facebook 分享時也能顯示。
額外修改的地方
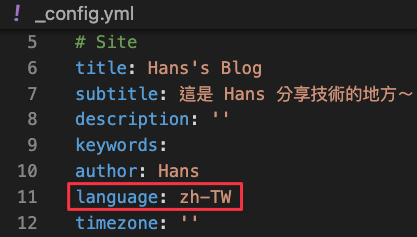
language 改成 zh-TW 後,網站也變成繁體中文了。

Hexo Blog 部署到 GitHub
建立 GitHub 專案
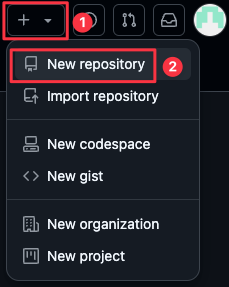
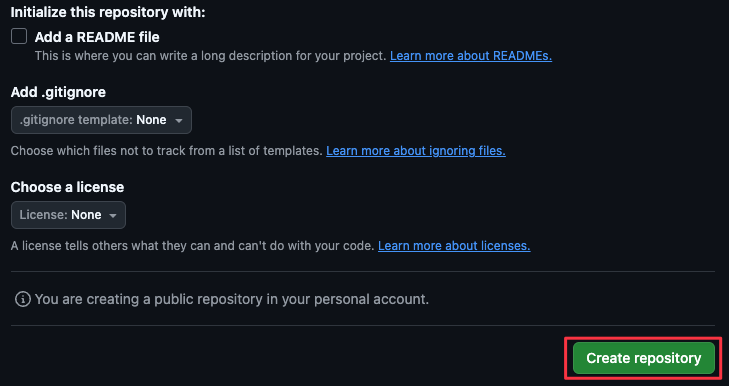
Step1. 點選 New 新增一個 Repository(專案)
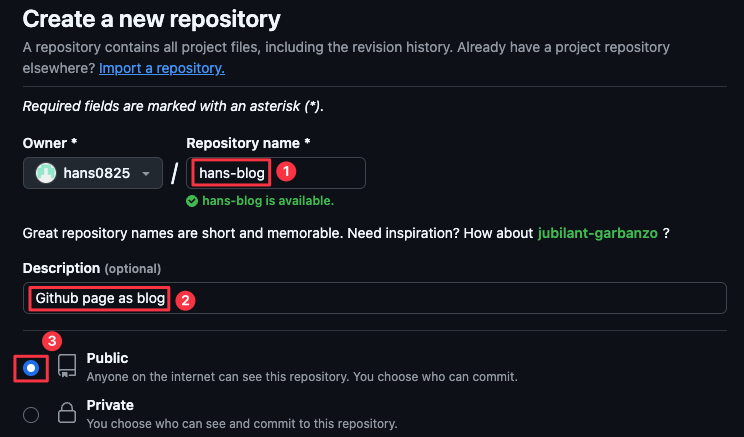
Step2. 將專案名稱命名為 hans-blog
一鍵部署:將檔案發布到 GitHub
參考文件
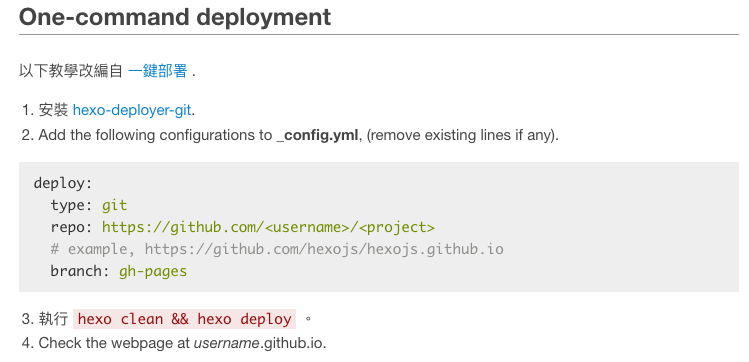
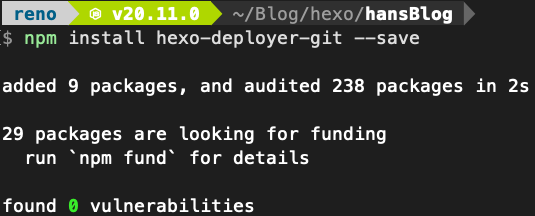
Step1. 安裝 Git 相關套件
在終端機輸入下列指令安裝部署所需套件:
$ npm install hexo-deployer-git --save
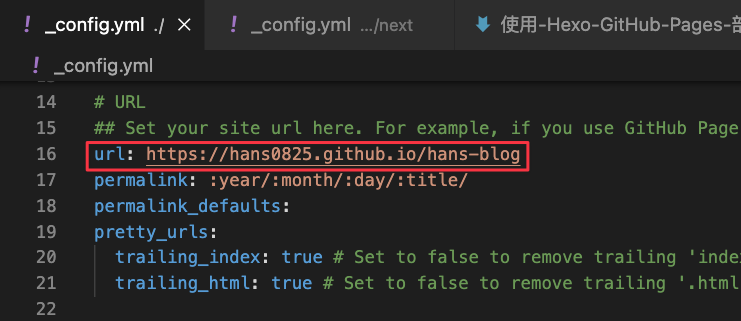
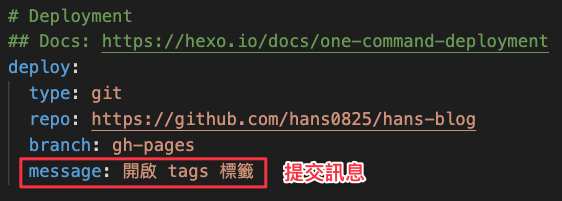
Step2. 修改 _config.yml 檔案的 Deployment 設定
_config.yml 檔案是根目錄的,而不是 themes 主題中的。
- 調整
_config.yml 的 url: https://hans0825.github.io/hans-blog
清空 _config.yml 的現有資料,並新增以下組態:
1
2
3
4
5deploy:
type: git
repo: https://github.com/<username>/<project>
// example, https://github.com/hexojs/hexojs.github.io
branch: gh-pages
- type:選擇部屬模式
- repo:GitHub repository 的連結
- branch:選擇分支
- message:部署到 gh-pages 的提交訊息顯示

Step3. 輸入部署指令
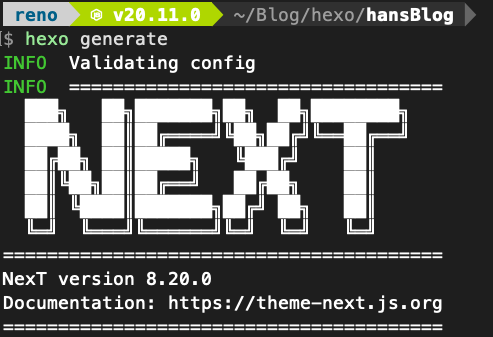
完成每次修改後,依序輸入 clean → generate → deploy 三指令,避免更新不完全:
1 | hexo clean //清除靜態檔案(Clear static files) |
1 | hexo clean |

1 | hexo generate |
1 | hexo deploy |

重新整理 Github 儲存庫,成功部署到 Github。
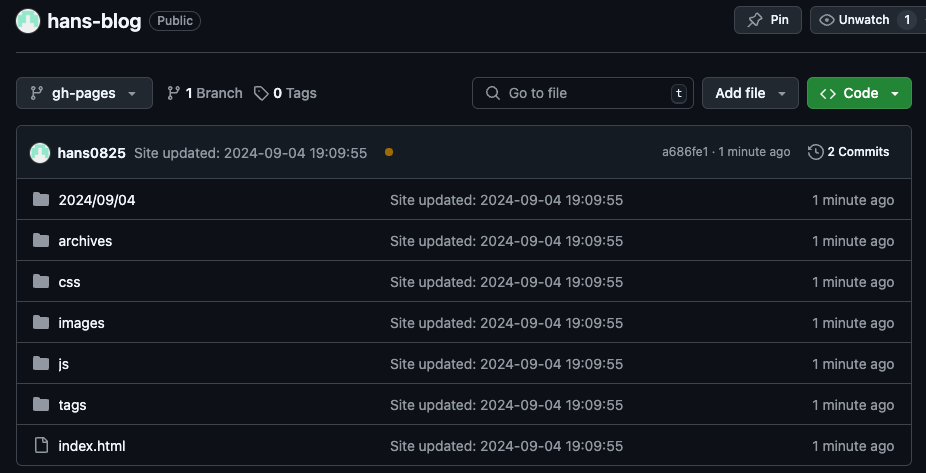
查看網站是否有成功部署到 GitHub,Settings → Pages。

到 https://hans0825.github.io/hans-blog/ 確認是否有發布成功
